Table of Contents
What Is RV Roof Leak Prevention?
Definition
RV roof leak prevention refers to the ongoing process of stopping water intrusion through regular inspection, proper sealing, and consistent maintenance.
It’s not a one-time fix. It’s a system.
Instead of reacting to leaks after they happen, RV roof leak prevention focuses on identifying weak points early—before water has a chance to get inside.
This includes:
- Inspecting seams, joints, and penetrations
- Maintaining sealants and coatings
- Cleaning surfaces to prevent buildup
- Monitoring roof condition over time
Why It Matters
Water damage in an RV doesn’t stay in one place—it spreads quickly.
A small crack in sealant can lead to:
- Mold growth behind walls
- Structural rot in roof decking
- Electrical system risks
- Insulation damage
And because many RV roofs use layered construction (membrane + wood + insulation), water intrusion often goes unnoticed until it becomes serious.
In the U.S., search interest for “RV maintenance checklist” and “RV leak repair” spikes every spring and fall—right when seasonal weather shifts expose hidden problems.
👉 Core takeaway:
RV roof leak prevention is not a repair task—it’s an ongoing system of protection.
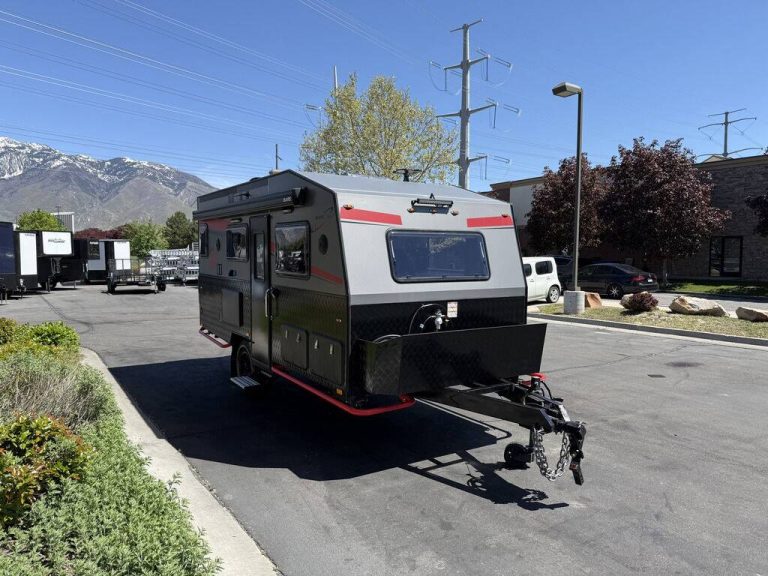
Why RV Roofs Are Prone to Leaks
Multiple Penetration Points
Unlike a residential roof, an RV roof is full of openings.
Common leak-prone areas include:
- Roof vents
- Skylights
- Air conditioning units
- Solar panel mounts
- Antennas and wiring ports
Each of these creates a seam—and every seam is a potential failure point.
For travelers using solar setups (a growing trend in the U.S. off-grid movement), roof penetrations increase even further.
Sealant Aging & UV Damage
Sealants don’t last forever.
Exposure to:
- UV radiation
- Temperature swings
- Rain and humidity
causes sealants to dry out, crack, and shrink over time.
In high-UV states like California, Arizona, and Texas, sealant degradation happens even faster. This is why “how to prevent RV roof leaks” is a highly searched term in these regions.
Road Vibration & Movement
Here’s the key difference:
👉 An RV is always moving.
👉 A house is not.
Every mile you drive creates vibration. Over time, this movement:
- Loosens seals
- Expands seams
- Weakens adhesive bonds
RV Roof Maintenance Checklist
A solid RV roof maintenance checklist is the backbone of effective RV roof leak prevention.
Inspection (Every 90 Days)
Perform a full inspection at least every 3 months.
Check for:
- Cracked or peeling sealant
- Soft spots or bubbling surfaces
- Loose fixtures or edges
- Signs of pooling water
Also inspect after:
- Heavy storms
- Long road trips
- Extreme temperature changes
Cleaning Routine
A clean roof is easier to inspect—and less likely to trap moisture.
Best practices:
- Use RV-safe cleaning solutions
- Avoid harsh chemicals that degrade membranes
- Remove leaves, dirt, and debris
- Clean around seams and fixtures
Debris buildup is a hidden cause of leaks, especially in forested camping areas popular across the U.S.
Sealant Maintenance
Sealants are your first line of defense.
You should:
- Reapply sealant when cracks appear
- Touch up weak areas before failure
- Use materials compatible with your roof type (EPDM, TPO, fiberglass)
Consistency matters more than perfection.
Interior Check
Don’t just inspect the outside—look inside too.
Warning signs include:
- Water stains on ceilings
- Soft or sagging panels
- Musty odors
- Discoloration around vents
These are often the first indicators that prevention has failed somewhere.
For a broader approach to RV upkeep, this
travel trailer maintenance checklist provides a comprehensive system that complements roof care.
How to Prevent RV Roof Leaks (Step-by-Step Guide)
Step 1: Inspect the Roof Thoroughly
Start with a visual inspection.
Focus on:
- Seams
- Edges
- All mounted components
Use a flashlight and take your time—small cracks are easy to miss.
Step 2: Clean Before Sealing
Never apply sealant to a dirty surface.
Dirt can:
- Trap moisture
- Prevent adhesion
- Hide damage
Clean first, dry completely, then proceed.
Step 3: Apply Sealant Correctly
Use the right type for the right area:
- Self-leveling sealant → flat surfaces
- Non-sag sealant → vertical edges
Apply evenly and avoid overuse.
Step 4: Protect the Roof
Prevention goes beyond sealing.
Protect your RV by:
- Parking under cover when possible
- Avoiding low branches
- Using UV-resistant coatings
Step 5: Schedule Routine Maintenance
Consistency is everything.
Create a simple system:
- Quarterly inspections
- Seasonal deep checks
- Annual resealing if needed
This transforms RV roof leak prevention into a habit—not a reaction.
Best Way to Seal RV Roof Seams
Types of Sealants
There are three main options:
Lap Sealant
- Flexible and durable
- Ideal for seams and penetrations
Sealant Tape
- Fast application
- Great for emergency fixes
Liquid Coatings
- Full-roof protection
- Adds waterproof layer
Application Tips
To get the best results:
- Always clean and dry surfaces first
- Use proper tools (caulking gun, scraper)
- Follow manufacturer curing times
- Avoid applying in extreme weather
The “best way to seal RV roof seams” isn’t about one product—it’s about correct application and consistent upkeep.
Common Mistakes to Avoid
Even experienced RV owners make these mistakes:
- Ignoring small cracks
- Using incompatible sealants
- Skipping routine inspections
- Waiting until leaks appear
👉 Key truth:
Small leaks become big problems fast.
Seasonal RV Roof Protection Tips
Summer
- Apply UV protection coatings
- Inspect for heat-related cracking
- Clean more frequently
Winter
- Prevent snow accumulation
- Watch for freeze-thaw expansion
- Ensure proper drainage
Rainy Season
- Check seals more often
- Ensure gutters and drainage paths are clear
- Inspect immediately after storms
Mars Solution: Smarter RV Roof Protection
At Mars, RV roof leak prevention is approached as a system—not a single product or fix.
Modern RV owners expect more:
- Longer travel distances
- Off-grid capability
- Minimal maintenance interruptions
That’s why Mars focuses on:
- Durable sealing systems designed for movement
- Materials built for long-term waterproofing
- Maintenance strategies that are simple and repeatable
👉 Core philosophy:
Prevent leaks before they start, not after they spread.
FAQs
How often should I inspect my RV roof?
At minimum, every 3 months—and always after long trips or severe weather.
What is the most common cause of RV roof leaks?
Failed sealant around roof penetrations like vents, AC units, and skylights.
Can I prevent leaks completely?
Yes—with consistent RV roof leak prevention practices, most leaks are entirely avoidable.
What is the best sealant for RV roofs?
It depends on your roof material. EPDM, TPO, and fiberglass roofs each require compatible sealants for best performance.
Final Thoughts
RV roof leak prevention is one of the highest-value habits any RV owner can build.
It protects:
- Your structure
- Your interior
- Your long-term travel experience
And in a time when more Americans are embracing RV travel—from weekend camping to full-time living—staying ahead of leaks isn’t optional.
It’s essential.
With the right system, the right habits, and a proactive mindset, you can keep your RV dry, durable, and ready for the road—no matter where your next adventure takes you.